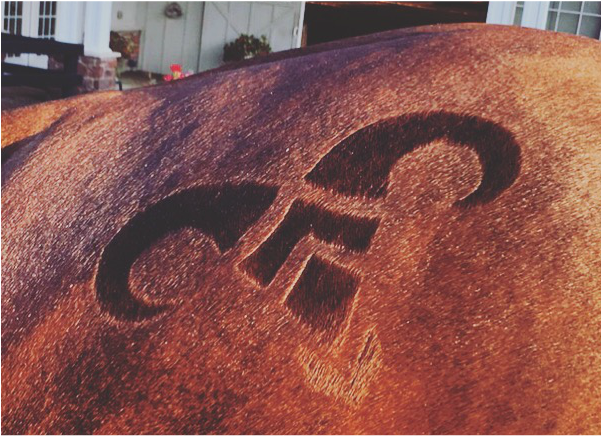
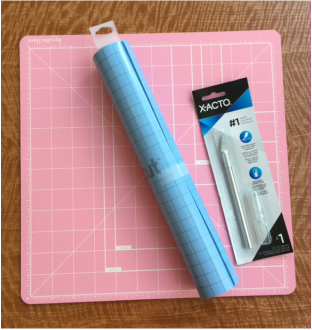
It has been a HOT summer. I decided to give my horse Eddie some vacation over the months of July and August since the ground is so hard. But now I have Eventing fever. So what better way to sooth my withdrawal symptoms than a fun DIY project in preparation for the Fall Eventing season?! Eddie will be entering the Waredaca Training Three Day this October, so I have a lot to be excited for. It will be his first turnout and jog inspection so I want him to look sharp! I’ve been inspired by some of the cool quarter mark designs I’ve seen over the past few years (particularly the NZ feather), and wanted to do something unique for Eddie. Eddie’s show name is Crossfire, named after the Stevie Ray Vaughan song… Sounds a lot better than his Jockey Club name “Excess Liquidity.” He was born April 13th, which makes him an Aries. I’m not into horoscope signs and what not, but I do like the designs and iconism behind them. For example, the Aries is also the Fire element. Which is perfect for Eddie’s name! So I decided I would design my own Aries or “Ram” icon to transpose into a quarter mark stencil. It will be unique to him, and look very elegant! I will outline my design process, along with the tutorial for creating the stencil. Materials:
Step 1: Brainstorm and Sketch This is the most important stage. I would recommend designing your own mark. This is always safest when it comes to copy rights. And it makes you unique! Do some research on Pinterest, Behance, or anything online you draw inspiration from. When thinking of designing or choosing an icon to represent you and your horse, you want to be sure you explore all ideas and possibilities. Likewise, you want the final product to look polished. You want something that is dynamic/strong but also subtle at the same time, as not to distract the judges or officials. Creating logos and iconography are long creative processes. Once you have a theme of what you want to achieve or convey… Put a pen to paper. Start sketching dozens of thoughts, doodles, and icons. Put all of your ideas down on paper, even the crappy ones. Maybe after you have 15-30 sketches, you can narrow it down to 3-5. Then make a drawing or mock-up of those favorite selected ideas. Next, take a poll! Ask a few close friends to pick their favorites and give you feedback. Sometimes we get married to one idea, but an outsider’s perspective helps us see new possibilities. Hopefully, after a few new opinions, you can narrow it down to one option.
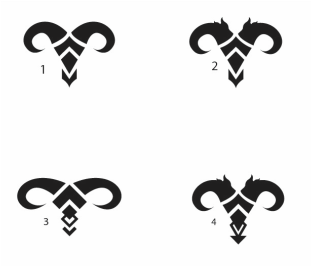
My final best four, narrowed down to my final option.
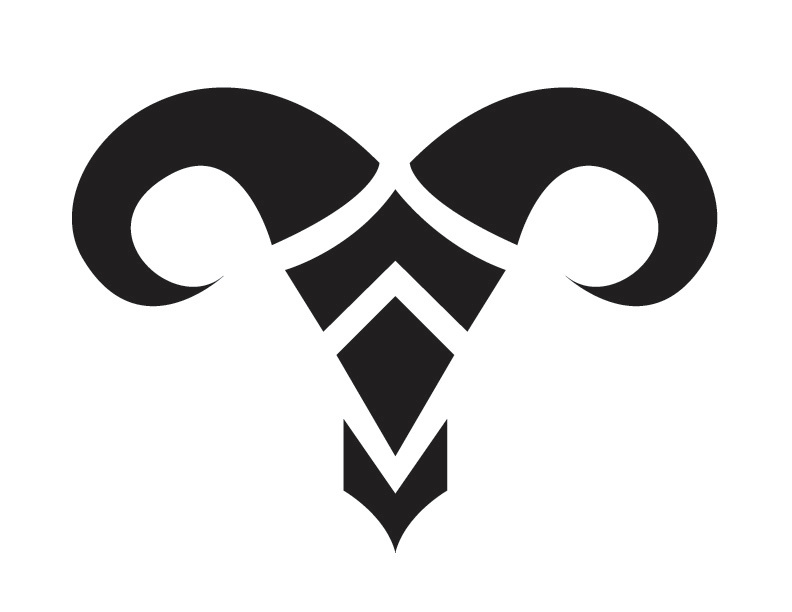
Step 2: Refine Your Quarter Mark Icon
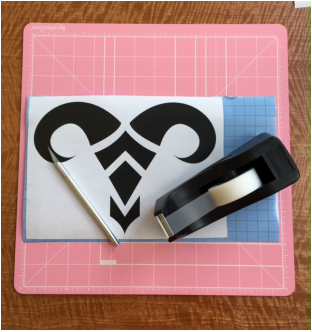
If you’re and artsy fartsy freak like me, maybe you have access to Adobe Illustrator. If not, a good old fashion, pencil and paper will do just fine. (Or tracing paper if you are just copying a printed design) I designed my icon in Illustrator and then printed. This is really where some freehand drawing skills come into play. You will have to draw out your mark on a larger scale, about 10 inches wide. Or if you’re not a great artist but have great ideas, ask a friend to help you draw your mark! Also remember your final design should be relatively simple and also take advantage of negative space. If it is too complex or has narrow sections, it could end up being a muddle to create and read. Step 3: Transpose your Mark to Vinyl Sheet This might be the trickiest step if you’re not handy with an X-acto knife… Or have never heard of one before. First, a sheet of your vinyl that is large enough for your icon/mark, with a little room to spare on the edges. Then you will need to tape the drawing of your mark as flat and as tight to the vinyl sheet as you can. Next you will begin cutting with the X-acto knife on the border of your design. Remember to go very slow. If your design has curves, and you don’t have steady hands, you may want to invest in a set of French curves (ask your local art store). Use one hand to steady your vinyl on the cutting matt, while the other holds the X-acto knife at about a 45 degree angle to cut. That way the hand holding the vinyl can help pivot the sheet as you go. Be careful as you pull sections of vinyl apart, as not to rip anything!
Step 4: Transfer Onto Your Horse If you have ever participated in a jog, or groomed for a jog, you might already know how to transfer a quarter mark… or even create a freehand quarter mark. First and foremost, make sure your horse is freshly bathed and clean. Use a rag to remove any excess dust before you start. Grab a fine haired dandy brush, and a spray bottle to get started. I like to fill my spray bottle with a bit of oil or shine product. First, spray and bush all of the hair on your horse’s hind quarters towards the back, to create the smoothest surface possible. Now you have created a wet surface to stencil on. Place the stencil strategically on the hind quarters where you want the mark to appear. Be careful not to aggravate any of the hair. Now, gently brush down on the hair exposed in the stencil. Hold the stencil in place so it does not move. This is what creates the mark, the differing pattern or direction of the hair. Finally, gently remove your stencil and take a peek at your masterpiece! You may want to even give it a spray with hair setting spray or something like it. Use your finger or a cloth to fix any stray hairs the stencil may have aggravated. And there you have it! Your own stencil quarter mark! I hope this was helpful for any of the creative minds out there! Don't forget to hashtag #EventingWizard if you try it out yourself and post!
2 Comments
Denise Curtis
8/31/2016 01:25:04 pm
LOVE the blog! I have never done a quarter mark, am not at all creative and don't know how to do the "transfer to horse part." Maybe a short video for those of us less informed would be great (don't know how that works in "blog-land".) Leave a Reply. |
Lauren Sumner
Three Day Eventer, looking to make her mark as she brings along her young OTTB, Crossfire. Archives
March 2017
Categories |
 RSS Feed
